Playing live with a computer opens up a whole realm of exciting possibilities thanks to all the applications, plugins and software instruments that are available. However, taking a laptop on stage with a band always felt too fragile and too expensive to me. It’s difficult to securely fasten the laptop, there’s a risk of it falling down, people might spill beer on it and it’s got a screen that’s bound to grasp the attention of people in the audience.
Since I’m a Mac user with Metric Halo interfaces I’ve never had much of a choice since the other options involved taking a huge iMac or Mac Pro along, and I really don’t want to add to the amount of large gear that we’re dragging around.
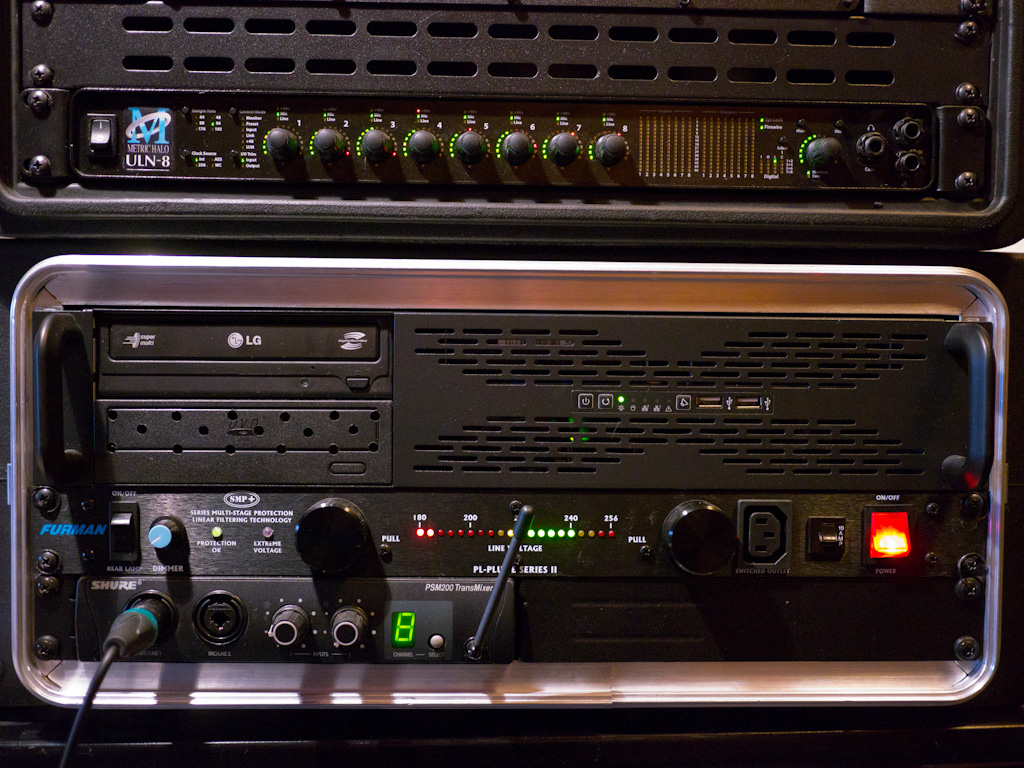
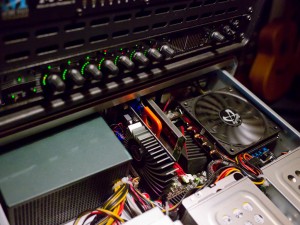
Nowadays though, since Apple has moved everything over to the Intel platform, it’s possible to get your hands dirty and build a computer yourself from off-the-shelf components while checking beforehand which ones are natively supported by OSX. Since I had built some Linux machines quite a few years ago, I decided to take on this project and build a 2U 19″ rack-mount computer that’s capable of running MacOSX without any kernel patches or custom drivers.
The components
I wanted to build a computer that was extremely powerful CPU-wise, had a lot of RAM, generated little noise and of course … was rack-mountable. The biggest challenge was to find components that fit into the 2U rack case, but eventually I managed to find a working combination.
These are the components that I used:
- Case: X-Case RM 204 Short
- Motherboard: ASUS Rampage III GENE (Intel X58 Express) – Micro ATX
- CPU: Intel Core i7 960 3.2GHz – Quad Core Socket 1366 QPI 4.8 GT/s Cache L3 8 Mo 0.045 µm
- CPU Cooler: Scythe Big Shuriken
- Thermal Paste: Arctic MX-4
- RAM: G.Skill RM Series RipJaws 12 GB F3-12800CL7T-12GBRM (3x4G)
- Graphics Card: ASUS ENGT430/DI/1GD3(LP) PCI Express
- Firewire Card: LaCie Firewire 800 PCI Card
- Wifi Card: D-Link DWA-556 Xtreme N PCI Express
- SSD Drive: OCZ Vertex 2 Series – SSD 120 GB 3.5″ Serial ATA II
- Hard Drive: Western Digital WD RE4-GP 2TB
- Optical Drive: LG GH22LS50 – DVD(+/-)RW/RAM 22/8/22/6/12x DL(+/-) 16/12x CD-RW 48/32/48x LightScribe Serial ATA
- PSU: Antec EarthWatts EA500 Green ATX 500W
- Front Case Fans: Two Rasurbo 50mm
- External Rear Case Fan: Scythe Mini Kaze 60mm
The assembly
There are many tutorials online about assembling your own PC, I’m not going to write my own.
Here is a random set of observations from my adventures:
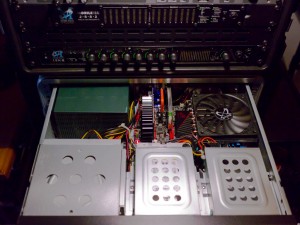
- The space in this case is cramped, very much so, if you have big hands you’ll have quite some trouble getting everything in there, but it’s possible. Be careful though, I managed to seriously cut my left hand on one of the metal edges of the case, it’s a scar that will probably be with me for life.
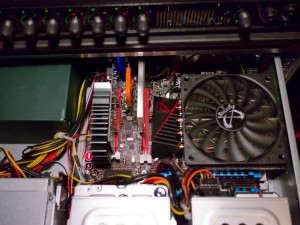
- It’s much easier to prepare the motherboard with the CPU and the cooler before putting it inside the case. Fixing the Big Shuriken on top of the CPU is otherwise almost impossible, you have to be able to apply counter pressure on the back of the motherboard for the pins to clip in place.
- Learn how to apply thermal paste correctly! There are many resources for that online. It depends on the number of cores of your CPU and the thermal compound used, do your research!
- The airflow of a computer case is as follows: take air in at the bottom and expulse it at the top since hot air rises. I replaced the noisy fans of the case with silent fans and attached an external 60mm fan at the back to improve the airflow.
- The top of the case is made out of aluminum, which heats up dramatically and prevents your components from staying cool. I removed it completely and placed the computer at the top location of my rack so that it’s naturally protected by the upper side of the rack.
- I drilled some holes in the plastic cover of the bottom drive bay to improve the airflow for the power supply.
- The LaCie Firewire card hasn’t got a low-profile bracket, but I was able to manufacture one out of the supplied standard bracket with a saw and pliers.
- Plan for touring, the rack can potentially be held in any angle and loose cables will eventually move around. I fastened everything with plastic cable ties to ensure that nothing can budge. This also allows you to lead cables around very hot areas of the motherboard or PCI cards.
Installing OSX
I based my installation on the instructions found at http://tonymacx86.com. This is a project that basically takes care of the boot phase and the selection of the appropriate drivers while installating OSX from the retail Snow Leopard DVD. I didn’t use any patches, meaning that OSX software updates apply without any problems and it’s really seen as a regular Mac.
If you have any troubles, hop on the forums on TonyMacX86, there are a lot of people that are willing to help out when you get stuck.
I’ve created a dedicated backup partition on the 2TB hard drive that contains a clone of the 120GB SSD boot drive, using SuperDuper. This gives me peace of mind in case something goes wrong. It contains the latest bullet-proof working version of the boot drive and allows me to go back to a known state when I upgrade or reconfigure software. I do this for any Mac computer that I use for live performance, sometimes a seemingly insignificant minor version upgrade of a plugin or other audio software can create unwanted side effects.
For everything to work, including sleep, I used a custom DSDT (hardware descriptor file) that I found on the TonyMac forums. In case you’re building the exact same machine, here it is: DSDT.aml.
To fully take benefit of the ASUS ENGT430 graphics card, you can install the drivers from NVidia which have been slightly adapted by TonyMac for the installation, get them here.
When everything was installed and updated, I simply activated auto-login and set my Plogue Bidule configuration and EigenD to launch automatically. By turning on the computer, everything that I need starts up and I essentially don’t need to use a screen at all to play the Eigenharp and the guitar.
Interacting with the hackintosh
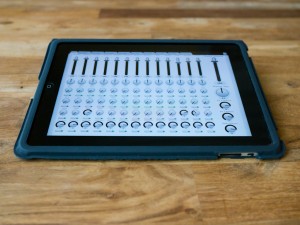
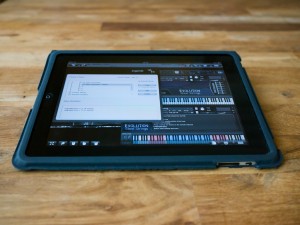
I added a WIFI card and let it connect to a wireless network that I create by plugging in an Airport Express. This allows me to connect over wireless with my iPhone or iPad.
When playing the Eigenharp, I’m able to use Stage to directly interface with my EigenD setup and when I need to, I can also remotely share the screen and use any of the other applications on the computer. Most of the time though, I don’t use the iPad at all, I just turn the computer on and play.
Planning for the worst
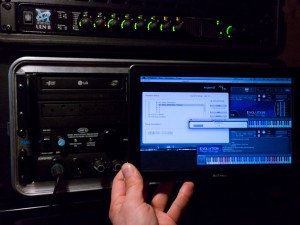
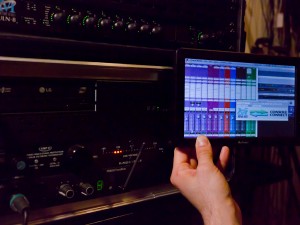
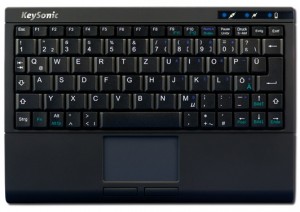
Since things always tend to go wrong at the worst possible time and WIFI is not robust enough to totally rely upon, I also bought a 10 inch HDMI touch screen, made by BeeTronics. Finally, I also ordered a mini Keysonic USB keyboard with integrated trackpad in case I need to intervene during the boot process. I keep both tucked away in a bag in case I need them, during regular usage they never come out.
Final thoughts
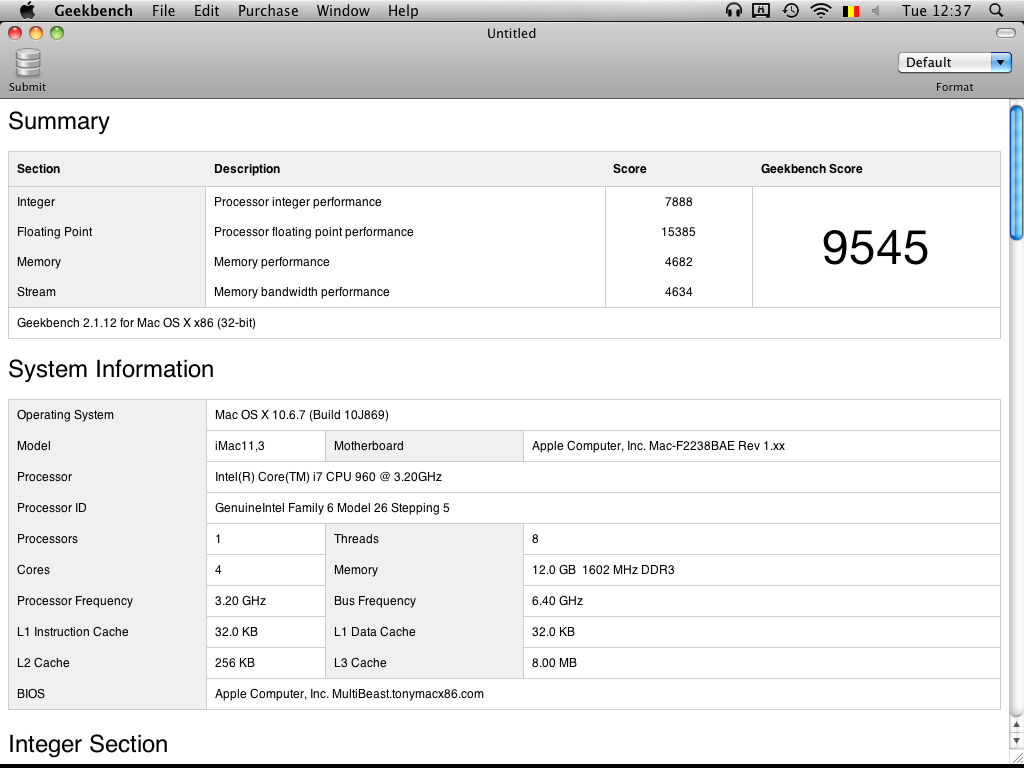
I finished building this mid-march and have since then done quite some rehearsals and three gigs with the hackintosh. It’s been working flawlessly and the performance is excellent. Its GeekBench score is a whopping 9545 which exceeds the most powerful mid-2010 iMac performance. I could have squeezed more performance out of it (a score of 10500 is easily within reach) but instead I opted to undervolt the CPU and the RAM to reduce the temperature and to run the fans at ‘silent’ settings.
The computer cost only €1400 (without taxes), the bulk of the money went to RAM, the SSD drive and the enterprise-grade hard drive. If you don’t have the requirement to rack-mount the computer in two units, it’s even easier to assemble since there are a lot more compatible components to choose from.
Don’t hesitate to ask questions or to post about your own hackintosh experience!
Geert this is a very amazing project! Mind if I ask you what sort of live do you do with this monstrous machine? I’m sorta thinking of doing the same, except I plan to get a cheap beaten-up pc with C2D cpu, replace the m/b with hackin-friendly one and assemble it away.
I mainly play vsts through (not many though, one of the biggest one will be NI Guitar Rig which will process in my guitar amp’s fx loop) but I hardly see that as a big cpu demander.
This machine is to play mostly the Eigenharp with software instruments that use a lot of RAM and resources (Kontakt, Omnisphere, …). I also use it with Guitar Rig, StudioDevil AMP, …
Very interesting. I’m finding my unibody Macbook is a bit underpowered for Eigenharp use and my daughter has her eye on it, so I’m thinking of swapping the mobo and cpu on my workstation, currently running Ubuntu, for something that can run OSX – probably some gigabyte mobo and an i5 2500k. I’m amazed to see that the 2500k now matches for speed the AMD Phenom that I’ve currently got in there.
At the moment I generally use the Eigenharp at home so until that changes I won’t be needing a hackintosh laptop/rackmount.
Richard, today I wouldn’t do this anymore, I’d just get a MacMini and rack mount it. It’s a pain to keep the hackintosh in running order because you have to be careful with OSX updates. Also, the fan noise and heat is really much higher than I’d like, making this suitable for gigging, but totally useless for studio work. Finally, this machine weighs a ton!
An inspiring project. I have build many over the years, more recently into G5 cases using a suitable donor CPU tray. My latest design requires no case modification, but uses some of the macs ports.
Do you think a larger 3 or 4u case would solve the heat issue ?
(I am thinking more space for larger slower fans.)
I now have a dedicated 4U rack case for this hackintosh where I have empty slots above and below, it makes a dramatic improvement indeed. Still, nowadays I would just get a MacMini instead of building this myself. At hindsight it wasn’t worth the effort and maintenance headaches for something that’s clearly an inferior end result (noise, heavy, hot, fragile).
http://www.kickstarter.com/projects/quo/projectq-run-any-os-the-unique-motherboard
This is Great! Like your stuff too.
I built a hackintosh mini (http://www.tonymacx86.com/248-building-customac-customac-mini-2012.html). I want to put this into a rack to minimize the live setup time on stage. I like that you have it setup to turn on and play. I’ll use this computer solely to do live visuals with Resolume and Processing. Separately i have a MBP to run ableton.
What’s the 4U rack you just got? 4 or 2? I’ve even seen 1U spaces for Mini-ITX. I want to put a good graphics card in and I will need to bump up the power supply in tandem which will probably dictate the case size. Thinking bout mountng a monitor on a slide tray too.
Thoughts based on your experience? thanks!
I know this post is a bit old, but I was wandering why you didn’t rack-mount also the base station pro. Is it even possible? I couldn’t find any clue on the eigenlabs website, but I’m considering the idea of buying a tau, and I was looking for a way to integrate the eigenharp in my setup.
Yes it is possible. I didn’t rack mount the base station pro since I had no room left and also needed it outside of this rack.
Hi Geert,
I’m a long time MH 2882 user and was thinking about building a Hackintosh. What is your experience with MH drivers on a Hackintosh? Everything smooth?
thanks a lot
Yup, built one a few months ago again, all stable with MH drivers. You’ll need a dedicated FW card though that is properly detected by MacOSX, like the LaCie one I reference in this post.